IT is time that homemade pudding receives the recognition it deserves. Arguably, pudding is the most underrated dessert ever. It may not be as refined or hyped as a pot de crème, mousse, or crème brûlée, but it is still enjoyable, nostalgic and easy to eat.
Nothing beats vanilla pudding as a quick dessert or snack that you can keep in the fridge or have after a meal. If you’ve only ever eaten pudding from the store, you’re missing out. Yes, making it requires a little bit more work than simply removing the foil from a plastic cup, but once you’ve tried it, there’s no turning back.
So put away the instant pudding mix; making this creamy, delicious vanilla pudding from scratch is far easier and more delightful. Plus, you most likely already have the majority of these ingredients in your kitchen. Check out how simple it is.

Ingredients
⅓ cup sugar
2 tablespoons cornstarch
⅛ teaspoon salt
2 cups milk
2 large egg yolks, slightly beaten
2 tablespoons butter (softened)
2 teaspoons vanilla
Milk: The foundation of the pudding is whole milk. Feel free to swap up to ½ cup of milk for half-and-half for a richer pudding.
Sugar: Regular granulated sugar is used to sweeten the pudding, and that’s the basic
Thickener: Cornstarch and egg yolks help the pudding to become thicker. It will continue to thicken as it cools in the refrigerator and as it cooks on the stovetop.
Vanilla extract: Vanilla extract is what gives the pudding its vanilla flavor. Hence, use the best extract you can find as the flavor will be apparent in every bite.
Butter: Only a small amount of butter is whisked into the hot pudding. This adds a richness that elevates this pudding to new heights. It’s important, so don’t miss it!

Steps
First, in a medium saucepan, whisk sugar, cornstarch, salt, milk, and egg yolks all together. Cook the mixture over medium-low heat, whisking occasionally (every minute or two), for 7-8 minutes, or until it is thickened and bubbling all throughout.
Once the mixture begins to bubble, cook it for an additional one to two minutes while whisking occasionally but not too vigorously (doing so could destroy the binding properties). The pudding should be thickened but still pourable at this point; it will thicken further as it cools.
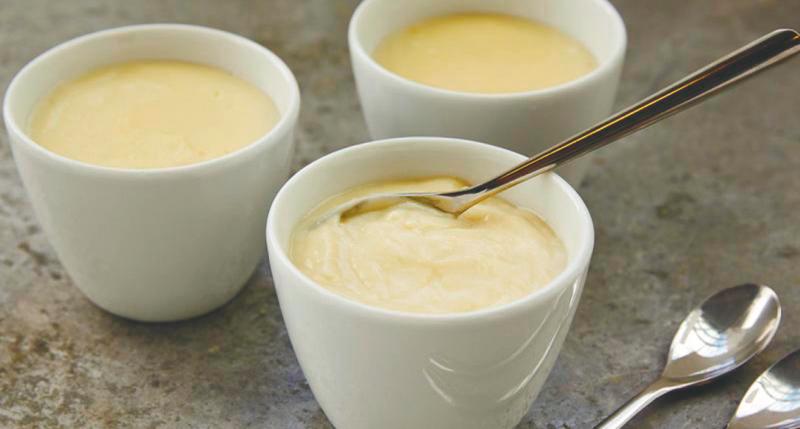
Then, take the pan off the heat and whisk or stir in the butter and vanilla extract. Optional lump removal: Place a fine mesh strainer over a large heatproof bowl. Pour the mixture through the strainer and into the bowl. Skip this step if you don’t notice any lumps in your pudding. And that’s it! You’ve made your own vanilla pudding. You can serve the pudding warm or let it chill before serving it. If you choose to refrigerate it, make sure to cover it with plastic wrap that touches the pudding’s surface to prevent the development of thin dry skin.

Bonus tips
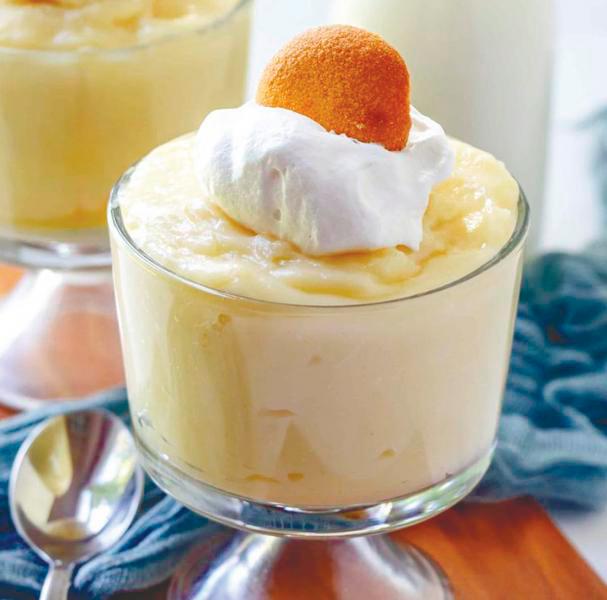
1. Having the kids help stir up this homemade vanilla pudding before dinner is a great way to get everyone involved in the preparation of dessert. By the time dinner is over, the pudding will be cool and luscious. You can also top the dessert with whipped cream or candy sprinkles.
2. In order to prevent losing any of its potent flavour and aroma, which can be weakened by direct heat, vanilla is added at the very end of this homemade vanilla pudding recipe. You can enhance the flavour of this Vanilla Pudding by putting a small amount of fresh vanilla bean paste.
Nutrition
220 calories, 11g total fat, 5g protein, 26g total carbohydrate, 23g sugars. The Nutritional Information is based on estimated calculations and may vary based on the ingredients and portion sizes used.
Last but not least
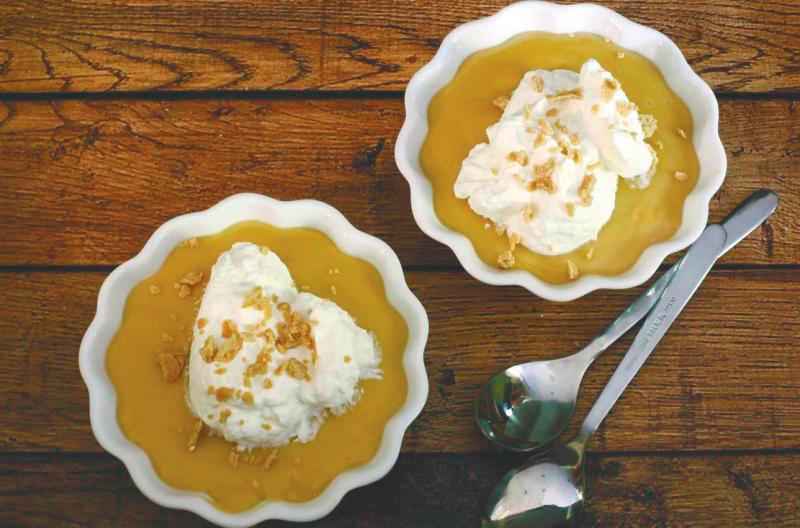
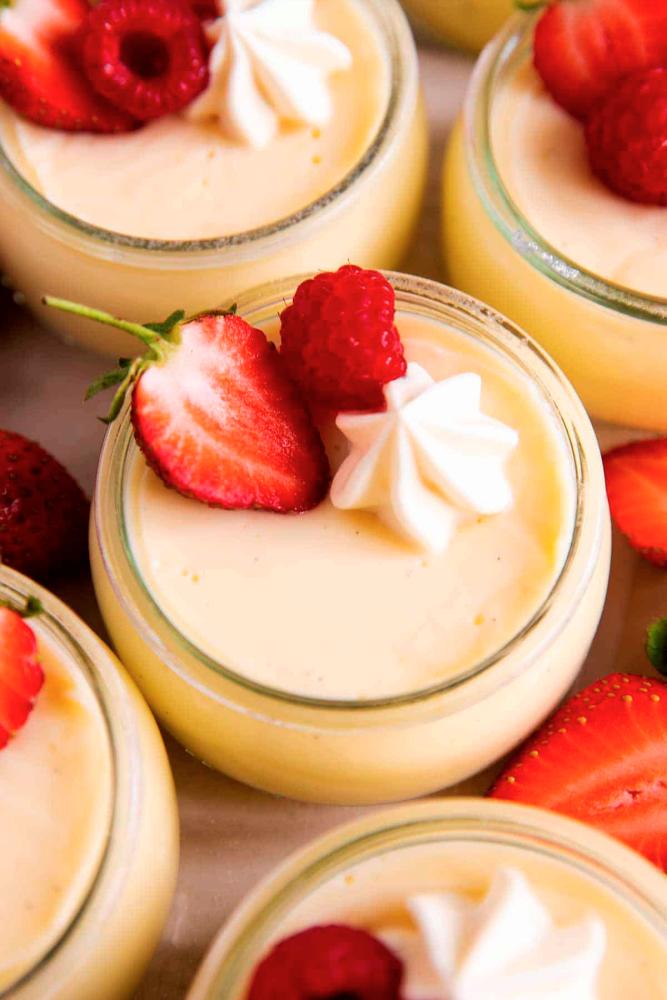
One of the best things about homemade pudding is how versatile it is. It can be served on its own or with berries, whipped cream, cookies, sliced bananas, or whatever you want it to be. It’s delicious when piled in a trifle or topped with fruit sauce. This is a classic, cozy dessert that will have you coming back for more.


