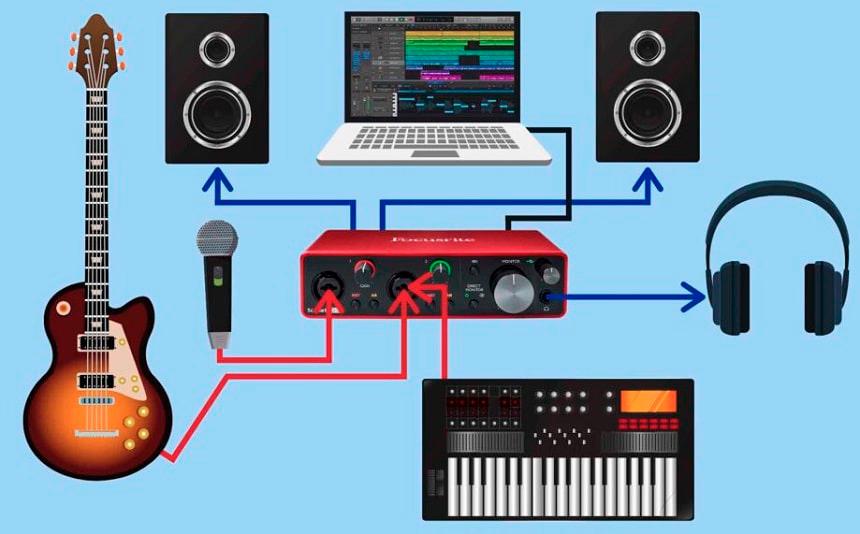
HAVE you ever heard about audio interfaces? Well, an audio interface allows you to record live audio by connecting microphones, instruments, and other sources to your computer.
In general, audio interfaces improve sound quality, reduce latency, and provide many more options, such as multiple inputs and outputs and record monitoring capabilities. In other words, it’s a necessary piece of equipment for recording music, voiceovers, podcasts, and other types of content.
However, it’s primarily used to convert incoming audio signals into digital audio you can use in your DAW (Digital Audio Work). A DAW is an electronic device or application software used for recording, editing, and producing audio files such as Apple GarageBand, FL Studio, Cakewalk, and many more.
You may be wondering why you can’t just connect the microphone and headphone jack on your computer to create music. The answer is: you can, but there are significant quality compromises if you do. Audio interfaces provide enhanced analog-to-digital and digital-to-analog conversion and music production-oriented functionality.

Consequently, recording at home with microphones can be difficult if you live nearby a noisy city street or if your space lacks the proper acoustic properties. You might still need a microphone for vocal recording, but for instruments having a pickup, such as guitars and basses, you can record directly into your computer.
With direct-in recording, you can instantly connect your instruments to your audio interface and begin recording immediately. Direct recording is simpler, cleaner, and quieter than microphone recording, particularly when amplifiers are included.
What you’ll need
Let’s begin with what you need before setting up this audio interface. Generally, what you’ll need will vary slightly depending on what you are using. You will have to work out what cables are required based on both your interface and your computer. Knowing how to connect your audio interface to your computer might be different from connecting a different brand to your laptop.
Secondly, of course, you will need the audio interface itself. One thing to consider before buying the audio interface is the number of inputs and outputs. Given how it affects both price and workflow, it is probably the most crucial primary factor to take into account before purchasing an audio interface.
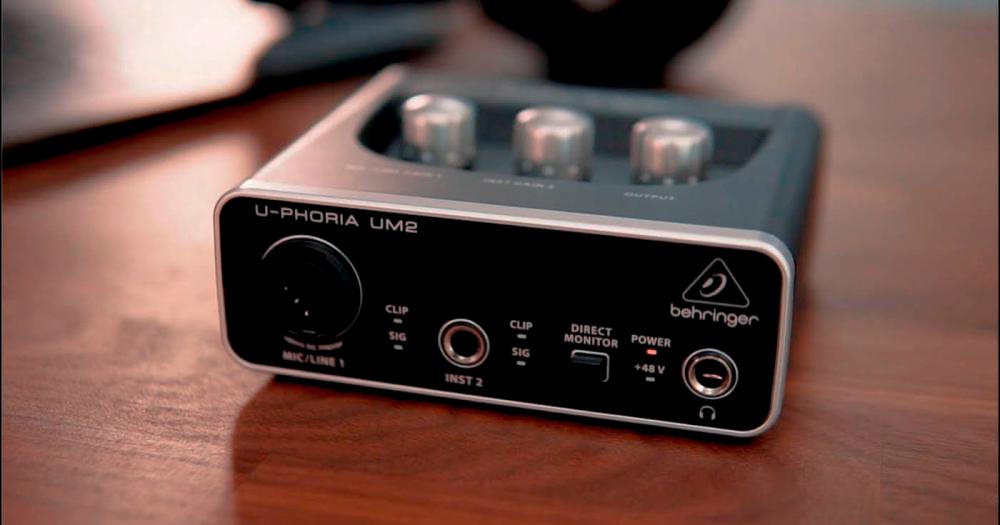
There are numerous types, compatibilities, brands, connectivity options, and numerous other options. Focusrite Scarlett Solo 3rd Generation, Audient iD4 MkII, and the inexpensive and beginner-friendly Behringer U-Phoria UM2 are the best choices based on recommendations and reviews.

Connect to your computer
The task of connecting an audio interface to your PC or Laptop is pretty simple in the majority of situations.
The next step is to connect your interface to your computer. Firstly, download and install the latest driver for your audio interface (if available). Then, Use your USB or thunderbolt cable to connect the interface to your USB/thunderbolt input. Assuming that it is USB powered, check that the audio interface is receiving power, often indicated by a light.
Connect your DAW or audio inputs and output settings on your computer so that the interface is detected by your computer. Connect your instrument or microphone to the interface’s inputs via a jack or XLR cable. Check that the input signal is being received by progressively increasing the model’s gain.
Normally, a green light will appear while you play an instrument, sing, or talk into the microphone. Ensure you’ve connected everything that comes with your unit, as many interfaces require an additional power supply to operate. Set the DAW’s input to the audio interface, and you should be ready to go!
Connect your studio gear
Connect your instrument cable to one of the inputs on your audio interface, and check in your DAW that the proper interface is selected among the inputs. Then, create an audio track, activate it, and begin playing. Most digital audio workstations include a tuner so that you may tune your instrument without unplugging it.
One of the greatest benefits of direct recording is that you do not have to worry about background sound affecting your recording. So, rather than waiting for a quiet moment, you can immediately start work on the audio recording.
A second advantage of direct recording is that the signal is cleaner and clearer, which increases the likelihood of success when ramping with amp simulators. Many DAW software also includes an excellent amplifier and pedalboard plugins that you may use to achieve a genuine tone for your instrument.


