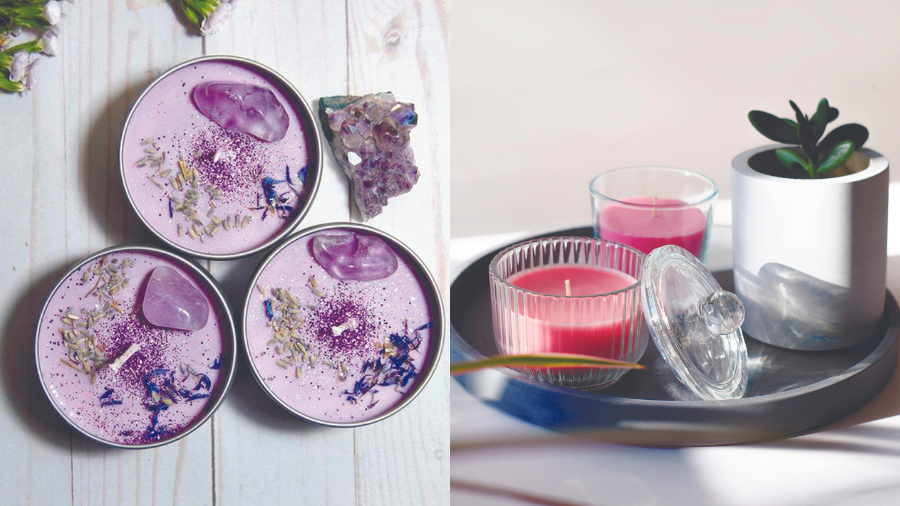
In previous BUZZ editions, we shared guides on how to grow your own herbs and spices, steps to extract your own essential oil from plants and how to make your own reed diffuser using those very extracted oils.
Other than using the essential oils in the diffuser, you can use the same oils to create your own homemade candles. Here’s how to make your own candles and scent them using your favourite essential oils.
As with our previous guides, everything you need can be easily found at home or sourced from your favourite online shopping platform, making getting into his hobby during the lockdown a breeze.
What you need
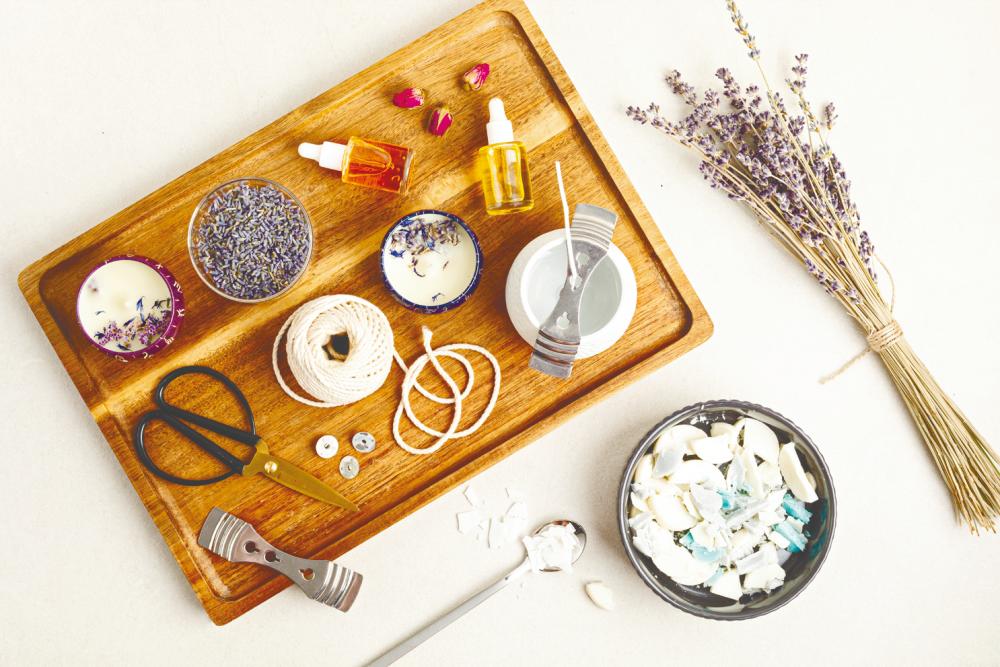
-> Soy wax flakes (or any wax you prefer)
-> Candle wicks
-> A bottle of your favourite essential oil
-> A spatula (preferably silicone)
-> 2 heat-resistant containers (one as a candle jar, another to melt the wax)
-> A large pot to use as a double-boiler
-> A thermometer
-> A pair of chopsticks or pencils to centre candle wicks
-> Scale or measuring cups
-> Paper towels to clean up spills
-> Superglue
-> Scissors
Steps
1. Protect the surface of the table or the kitchen counter from wax spills with newspaper sheets before you begin.
2. Measure the volume of your candle jar to find out how many wax flakes you need. You can do this by pouring water into the empty container and then pouring it into a measuring cup or by weighing it on a scale. Once you know how much you need, start measuring the soy flakes in the measuring cup. Chances are, you’ll need to double the amount of soy flakes needed, because the flakes melt down a lot more when in use.
3. Once you’ve measured the soy flakes, pour them into a heat-resistant container. Fill a large pot halfway with water and bring it to a simmer. Slowly lower the container with soy flakes into the water to melt them. Stir the melting wax occasionally with the spatula.
4. When the soy flakes are fully melted, remove the container from heat and let the wax cool to 60°C before adding in the essential oil. It’s recommended to drop about 10 to 20 drops of oil into the wax, but it’s highly dependent on the size of your candle jar. Put the wax mixture aside to cool.
5. While the wax mixture is left to cool, it’s time to prepare your candle jar. Dab a bit of superglue on the metal bottom of your candle wick and press it to the centre of your candle jar. If you have a large jar, you may need 2 or 3 evenly-spaced wicks for an even burn when in use.
6. Pour the melted wax into the candle jar (approximately 60°C). Leave a small amount of wax in the boiler for topping off the candle later.
7. Keep the wick centred by tying it to a chopstick or a pen. Alternatively, you can use a wick centring device if you have one.
8. Allow the wax to set for four hours at room temperature.
9. If your candle has hardened with an unsightly top or has tunnels in the middle, top it off with the remaining wax. Cover any sinkholes just a little above the surface. Be careful, adding too much wax might cause another sinkhole instead. Let the wax harden again.
10. Once the candle is all hardened, it’s time to trim the wick to an appropriate length. Leave just under half an inch of wick. If the candle flickers or has a tall flame when lit, trim the wick.
Tips and tricks
Before lighting your candle, be sure to trim your wick to ¼ inches. This is to make sure your candle burns evenly, prevent the candle from giving off black smoke and soot, and prolong the life of your candle.
Black smoke and soot can stain the insides of your candle jar and affect the smell of your beautiful candles.
You can trim the wick using scissors while eyeballing the length, or use a wick trimmer which is already designed to cut off the right wick length. A good sign to trim your wick is when it starts to form black bulbs at the tip of the wick, also known as mushrooming.
To prevent your candle from tunnelling, make sure the candle is evenly burned before blowing out the flames.
If you are not sure how long it takes, check the evenness of the wax pool in your candle jar. It can be hard to fix your candle once it tunnels and leave behind wax rings because candle waxes have a ‘memory.’
A candle wax ‘memory’ refers to how the candle wax melts after it’s lit for the first time and it’ll determine how the candle will melt for the rest of its life. According to candles.org, the rule of thumb is to burn one hour for every 1 inch in diametre of the candle size. For example, a candle that is 2 inches across should burn for 2 hours.
Other ways to beautify your candles
Other than adding essential oils and scents to your candle, there are plenty of creative ways to personalise your own homemade and hand-poured candles. Here’s what you can add to your candles for a personal touch.
Make it floral
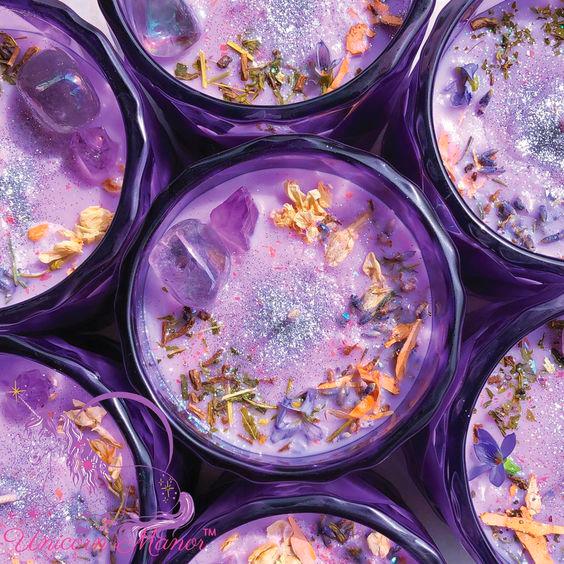
You can adhere some dried flower petals to the sides of the candle jar using a paintbrush and some candle wax. This must be done before you pour the wax into the candle jar. Alternatively, you can mix petals and leaves into the candle wax too.
Add colour
To add a pop of colour to the candles, you can add in a few drops of gel food colouring, chopped up crayons or candle dye into the melting wax during Step 3. You may need 12 to 15 crayons per candle for the best hue.
Liquid food colouring doesn’t mix well with the wax and the colours will separate, creating an unsightly splotchy effect.
Hide treasures
If you’re planning to make a candle as a gift, you can hide small, inexpensive treasures inside the candle.
Small items such as toys, rings or necklaces can be wrapped in plastic or aluminium foil to prevent the wax from clinging onto the object. Let your imagination run wild!
Place the wrapped gifts into the candle jar before pouring in the wax.
Make it magical
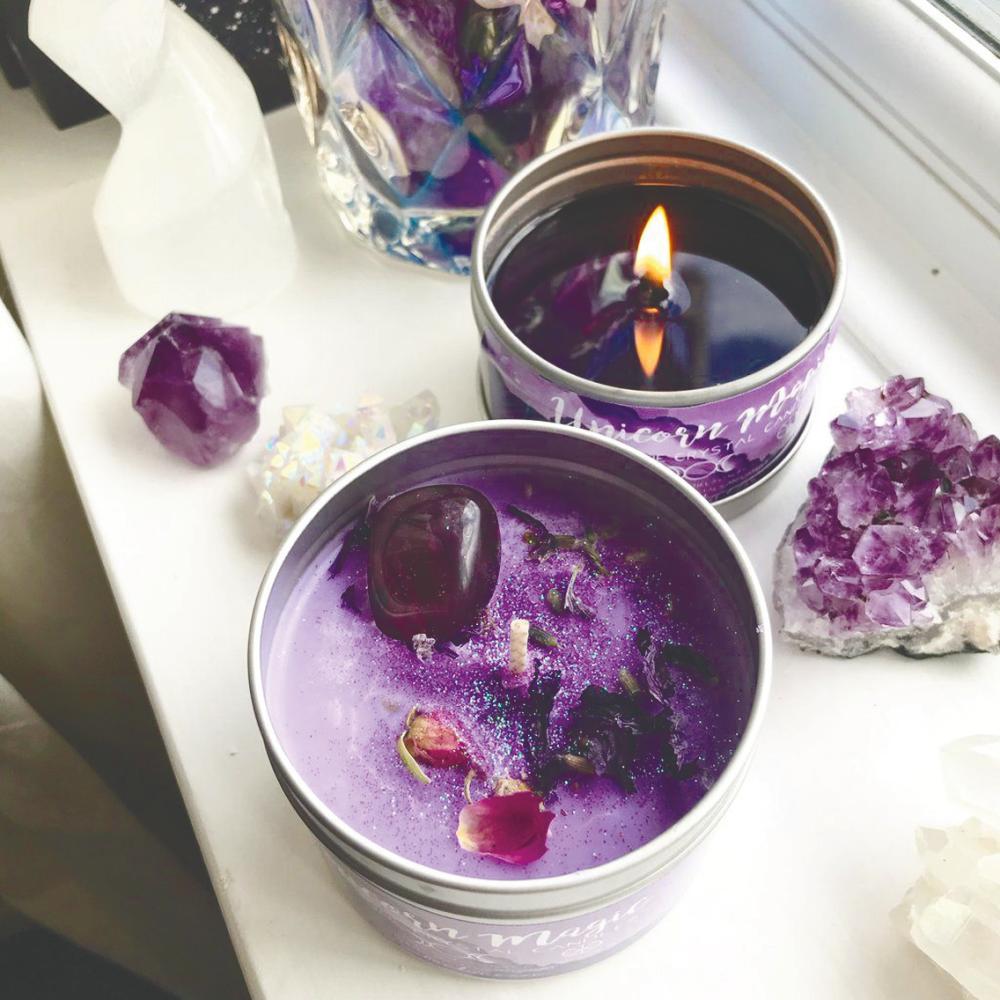
Crystal lovers can place a few of their favourite crystal rocks into the candle when the wax is still liquefied but starting to fully harden.
Whether or not you believe in crystal healing, adding crystals to the candles give off a witchy vibe that makes it a perfect Halloween decoration.
Here are some crystal and scent combinations you can try:
-> Romance and self-love: Rose Quartz, Rhodochrosite, ylang-ylang
-> Creativity and wealth: Citrine, Golden Obsidian, tangerine, frankincense
-> Relaxation or to dispel negativity in your life: Amethyst, Black Tourmaline, lavender
-> Wisdom and smart thinking: Jade, Fluorite Green, peppermint oil
-> Inspiration: Labradorite, Sodalite, sweet orange essential oil
-> Courage and opportunity: Aventurine, aquamarine, cypress essential oil
-> Protection: Aquamarine, Lazuli, Opal, Tiger Eye, cedarwood essential oil
However, do note that not all crystals work well in heat and it’s good to do your own research before purchasing the stones.
The International Gem Society reports that citrine can fade when it’s heated.
Other crystals to avoid are peridot, malachite and garnet. Due to trace amounts of water in opals, opals aren’t recommended too because they can fracture in heat.
Experiment with shapes
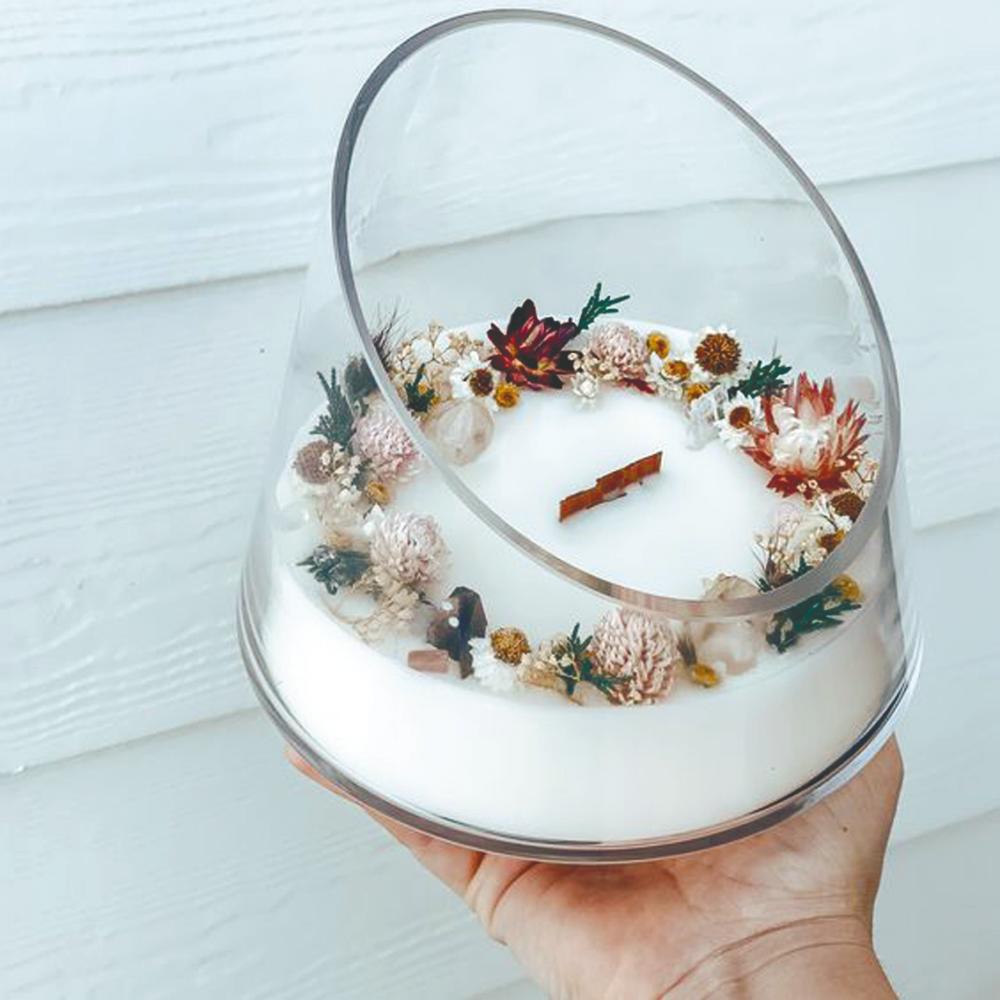
Other than the usual cylindrical candle jars, be bold and experiment with different candle shapes.
Play and change the shapes of the candles by using different container and mould sizes and shapes such as a skull mould, a pyramid mould or use a cup as a container.
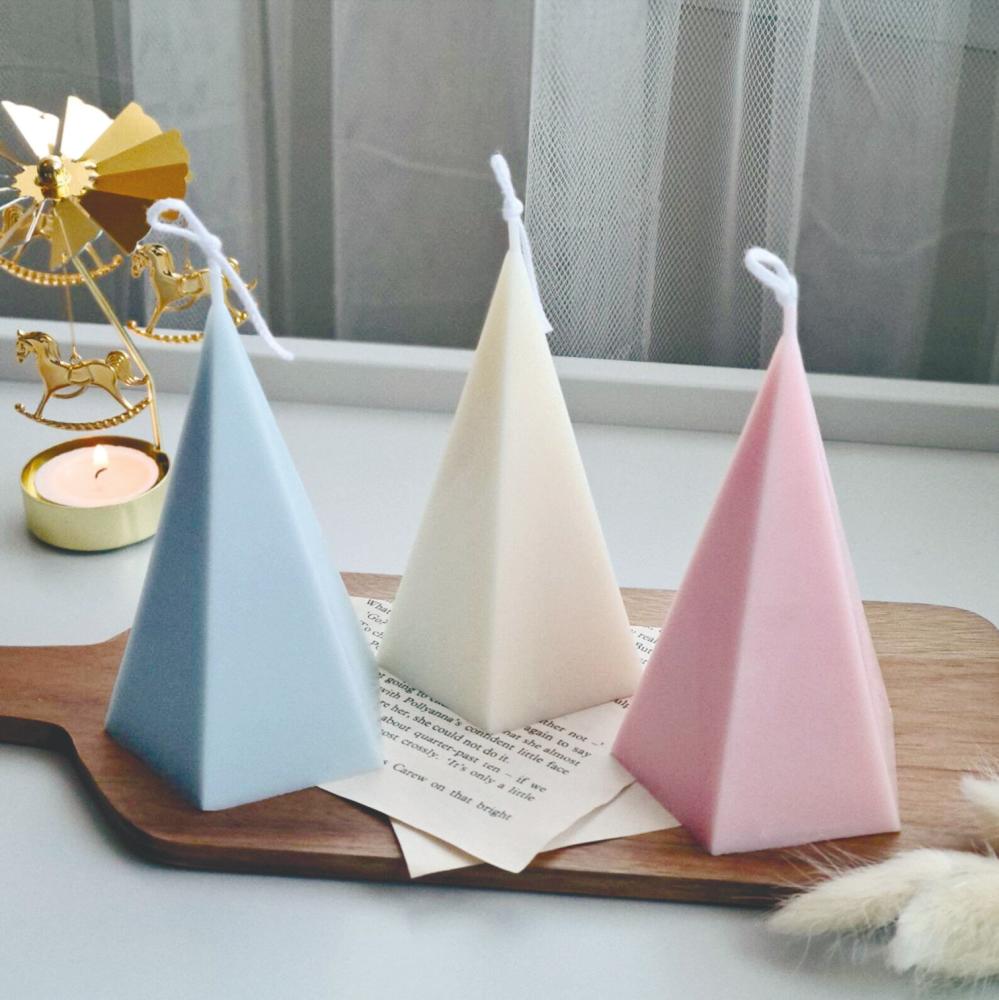
These creative candles may not burn evenly but it’s worth the time as they look really nice and make wonderful gifts for family and friends.
This article was first published in theSun Buzz Candle Craft edition. Find out the different types of candle waxes you can use and what makes each wax different from the others.


